Dog Bone Lifting Anchors are small components with a large responsibility: they connect precast concrete elements to lifting equipment during handling and installation. Choosing one by appearance alone is risky. Capacity depends on the anchor model, concrete strength, embedment, load direction, and lifting arrangement. Details matter.
The U.S. Bureau of Labor Statistics reported 1,075 fatal work injuries in the construction industry in 2023. This figure is not specific to lifting anchors, but it shows why careful equipment selection and safe work practices matter. The Precast/Prestressed Concrete Institute’s Design Handbook and manufacturers’ technical documentation provide useful engineering guidance. Buyers should verify rated loads and installation conditions against the relevant product data, rather than rely on a generic rule of thumb.
When searching for “Dog Done Lifting Anchors,” buyers may mean dog bone lifting anchors used in precast applications. Check the required load, concrete conditions, sling angle, edge distance, corrosion exposure, and inspection requirements before ordering. Confirm that the product’s documentation matches the intended use, and ask a qualified engineer when the load case is unclear. A checklist helps, but it cannot replace sound judgment. That part deserves a second look. These 10 tips explain what to verify, what questions to ask suppliers, and which assumptions can lead to costly mistakes.
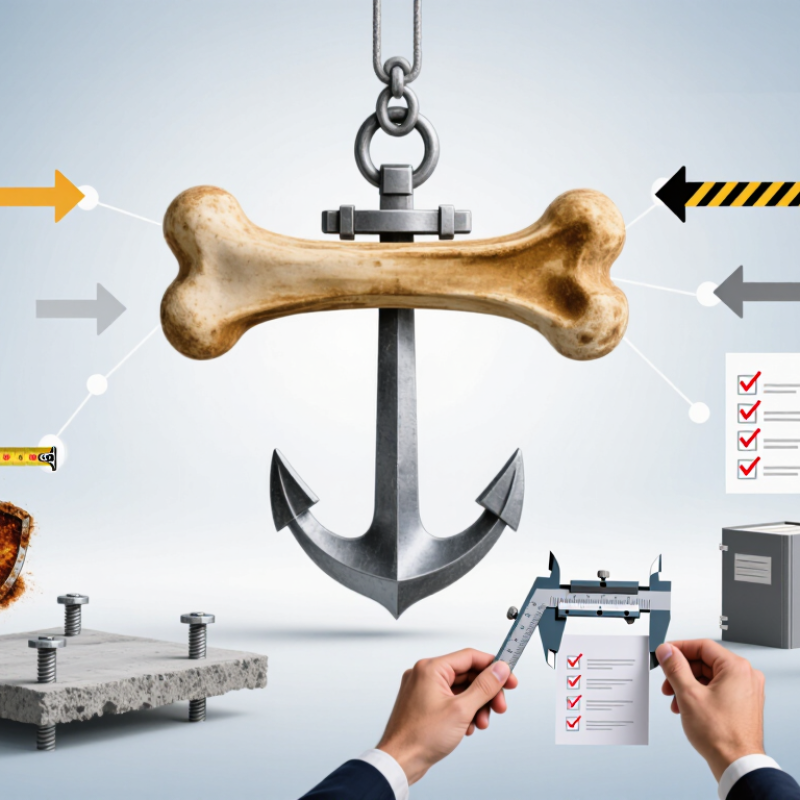
Dog-bone lifting anchors are cast into precast concrete to create a secure connection point for lifting. Their enlarged ends help transfer force into the concrete, while the anchor body connects to compatible lifting hardware. Not just steel. The complete load path includes the anchor, surrounding concrete, reinforcement, clutch, and sling. Details vary by design, so the shape alone does not confirm capacity.
Geometry matters. Embedment depth, edge distance, concrete strength at lifting, and sling angle can all affect performance. OSHA’s construction standard, 29 CFR 1926.704(e), requires tilt-up lifting inserts to support at least four times the maximum intended load; lifting hardware must support at least five times that load. These are regulatory minimums for the stated application, not a substitute for checking the anchor’s rating and panel design. ACI 318-19 Chapter 17 also addresses concrete anchorage design. One easy detail to overlook is that a rated anchor does not automatically make the entire panel safe to lift. Verify the manufacturer’s technical data, placement drawings, and actual concrete strength before lifting. I would still pause over any drawing that leaves the load direction unclear.
Understand the design and purpose of each anchor before selecting a system for your lift.
This checklist groups 18 practical checks across five selection topics. Confirm the anchor’s rated capacity, loading direction, dimensions, concrete requirements, compatible lifting clutch, and inspection condition against the manufacturer’s documentation and applicable project requirements. The check counts indicate checklist coverage, not product performance or a safety rating.
Dog-bone lifting anchors should be matched to the actual lift, not just the panel’s total weight. Start with the heaviest pick and calculate the load on each anchor using the planned rigging geometry. Loads rarely divide evenly. Sling-length differences, an off-center load, or a tilted panel can increase the force on one insert. Include sling angles, lifting hardware, and concrete strength at release in the check. OSHA 29 CFR 1926.704 requires embedded lifting inserts to support at least four times the maximum intended load. It sets a five-times minimum for lifting hardware. These are U.S. regulatory benchmarks, not substitutes for rated capacities or project-specific engineering.
The Precast/Prestressed Concrete Institute’s Design Handbook addresses variables such as concrete strength, embedment, and edge distance in precast design. Check approved anchor data against the actual release strength and the planned embedment and spacing. It is tempting to trust the nominal panel weight; that shortcut deserves a second look. A sling angle can change anchor tension substantially, so record the rigging layout and angle on the lift sheet. Small mismatches matter. If the measured concrete strength, panel weight, or rigging differs from the design assumptions, pause and recalculate before lifting.
| Tip | What to Check | Practical Guidance | Why It Matters |
|---|---|---|---|
| 1 | Determine the actual lifted load | Include the precast element’s weight and any attached items lifted with it. Use verified drawings, calculations, or measured data rather than a visual estimate. | An underestimated load can exceed the anchor system’s allowable working capacity. |
| 2 | Confirm the anchor’s rated capacity | Check the documented working load limit for the exact anchor model and configuration. Do not treat the anchor’s breaking load as its permitted lifting load. | Working load limits account for the intended rated use; ultimate strength is not a safe operating rating. |
| 3 | Match capacity to the concrete condition | Verify the required concrete compressive strength at lifting time, as well as the specified embedment depth and anchor installation details. | Anchor performance depends on the concrete and installation conditions used for its rating. |
| 4 | Account for sling-leg angle | For a symmetrically loaded two-leg sling, the ideal tension per leg is load ÷ (2 × cos θ), where θ is measured from vertical. For a 2,000 kg load, this is about 1,000 kg per leg at 0°, 1,155 kg at 30°, and 1,414 kg at 45°. | As the sling legs move farther from vertical, tension in each leg increases. Use the applicable lifting design method and equipment ratings. |
| 5 | Check the number of anchors actually sharing the load | Do not automatically divide the load equally among all installed anchors. Consider the rigging arrangement, element stiffness, lifting geometry, and any specified load-sharing assumptions. | Uneven load distribution can cause one anchor to carry substantially more than an equal share. |
| 6 | Review edge distance and spacing | Compare anchor locations with the design requirements for minimum edge distances, anchor spacing, and concrete member dimensions. | Insufficient edge distance or spacing may reduce concrete capacity or cause local damage. |
| 7 | Consider the direction of the pull | Confirm whether the lift produces axial tension, inclined loading, or any side loading, and ensure the anchor system is approved for that loading direction. | A rating for one loading direction should not be assumed to apply to another. |
| 8 | Allow for the full lifting sequence | Review the lift from initial pickup through rotation, transport, and placement. Include any applicable dynamic effects or project-specific load factors in the engineering assessment. | Loads and anchor forces can change during acceleration, impact, tilting, or other stages of a lift. |
| 9 | Check compatibility with lifting hardware | Make sure the lifting clutch or connector is designed for the anchor, fully engages as intended, and is compatible with the planned sling arrangement. | Correctly rated anchors can still be used unsafely with incompatible, damaged, or improperly engaged hardware. |
| 10 | Inspect and follow the approved lifting plan | Before each lift, check accessible anchor and lifting-device components for visible damage, deformation, corrosion, or contamination. Follow the project documents and the equipment supplier’s instructions. | Inspection and a documented plan help identify hazards that a capacity figure alone cannot address. |
Important: This guide is for general selection considerations, not a design specification. Anchor capacity depends on the exact product, concrete strength, embedment, geometry, loading direction, rigging, and applicable local requirements. Have a qualified engineer verify the complete lifting arrangement and consult the anchor’s technical documentation before use.
When buying dog bone lifting anchors, start with the material specification. Ask for the stated steel grade, traceable batch records, and details of any corrosion protection. A coating can change dimensions slightly, so check that the finished anchor still fits its intended lifting clutch. Small details matter.
Compare the drawing with the actual installation: anchor length, head profile, embedment depth, and required edge distances. Confirm that the anchor and clutch are designed to work together. Also check the rated capacity against the concrete strength at lifting, sling angle, and expected load. The anchor’s rating alone does not describe the whole lifting system. A common purchasing miss is treating a catalogue dimension as a site measurement; verify both.
Review safety certificates and test reports for the exact anchor model and material, not just a similar product family. Check who issued the documents, which standard or test method they reference, and whether the batch can be traced to them. Paperwork matters, too. If a certificate does not clearly cover the intended use, ask a qualified engineer or supplier to clarify it before ordering. I would not assume two anchors with similar shapes are interchangeable; that assumption is easy to make, and worth questioning.
Before buying dog bone lifting anchors, match the anchor to the concrete strength expected at the time of lifting—not just the final specified strength. Concrete may still be young when panels leave the bed. ACI 318-19 Chapter 17 treats anchorage capacity as dependent on factors such as embedment and edge distance. Check the drawings and the actual anchor location. Small shifts matter.
Look for cracks, honeycombing, damaged threads, or concrete too close to an edge before attaching equipment. Confirm sling capacity, hook fit, and the load shared by each anchor; uneven rigging can overload one point. A mismatch can look minor on paper. I would pause and verify it in the field, even when the schedule is tight.
When comparing suppliers of dog bone lifting anchors, look beyond price and delivery time. Ask for drawings, rated capacities, material details, and clear installation instructions. These records should identify the exact anchor type and configuration being quoted. A generic certificate may not cover the product you will actually receive. Paper matters.
Check whether the supplier can provide traceable batch records and explain how each production lot is inspected. Useful controls include dimensional checks, weld inspection where applicable, and documented testing against stated requirements. Ask how defects are recorded and what happens when a batch fails inspection. A quick, specific answer is more reassuring than a polished brochure. Confirm that the anchor’s capacity suits the project conditions, including concrete strength, embedment, and lifting arrangement; have a qualified engineer review uncertain cases.
A sample can reveal practical details that paperwork misses. Inspect the finish, markings, and dimensions, then compare them with the approved drawings. I would not treat a clean sample as proof of consistent production; that is an easy assumption to make. Request evidence that later batches follow the same checks. Keep supplier documents with inspection records on site, where crews can verify the anchor before installation and lifting.
Watch video