7 Tips for Choosing a Weather Station Humidity Sensor
A reliable Weather Station Humidity Sensor helps turn changing air conditions into readings you can use. Yet choosing one is not just a matter of comparing specifications. Sensor type, stated accuracy, operating range, and response time all affect what the display tells you. So does placement. A sensor mounted beside a sun-warmed wall may report a different environment from one shaded and ventilated. Small details matter.
The physicist and engineer Lord Kelvin captured a useful principle: “When you can measure what you are speaking about, and express it in numbers, you know something about it.” For a weather station, that principle begins with understanding what a humidity reading represents—and what it cannot guarantee. A precise-looking number is not automatically a trustworthy one. Calibration needs, exposure to dust or condensation, and compatibility with your station deserve attention before purchase.
These seven tips will help you compare sensors with practical questions in mind. Check the measurement range against your local climate. Look for clear accuracy specifications, not vague promises. Consider how easily the sensor can be installed, checked, or replaced. Think about data logging, wireless range, and the conditions where it will sit. A low-cost model may be enough for casual backyard tracking; it may disappoint if you need consistent records. There is no perfect choice for every setup. Even careful buyers can overlook a constraint, so leave room to reassess after installation.
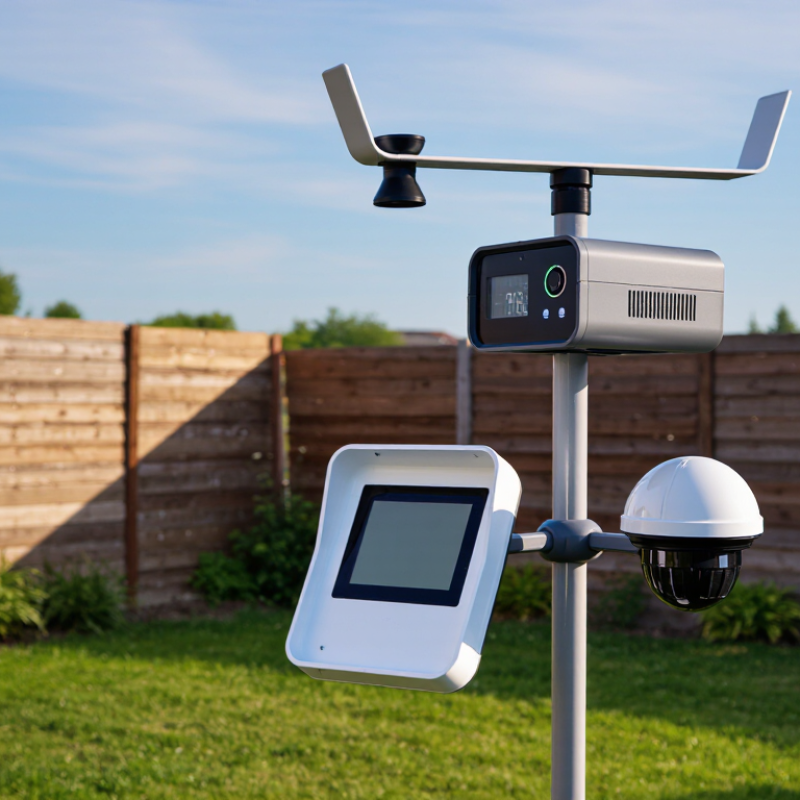
Define Your Humidity Monitoring Needs and Operating Conditions
Before comparing humidity sensors, define what your weather station needs to measure. Are you tracking overnight garden conditions, greenhouse ventilation, or long-term outdoor trends? Each use calls for a suitable humidity range, response time, and level of accuracy. Note the usual temperature swings and whether readings must remain useful during rain, frost, or rapid weather changes. Be specific.
Next, examine the installation site. A sensor under a roof overhang faces different conditions from one exposed to wind-driven rain. Check for direct sun, poor airflow, dust, and condensation, as each can affect readings or sensor life. Small details matter. Consider how often you need data: minute-by-minute readings may help manage ventilation, while hourly records can suit general observation. Also check whether the sensor’s stated accuracy applies across the humidity and temperature ranges you expect, not just in ideal test conditions. A protective enclosure can improve durability, but it may slow the sensor’s response. That trade-off is easy to overlook. It is worth revisiting your assumptions after a few weeks of readings; the site may behave differently than expected.
Define Your Humidity Monitoring Needs and Operating Conditions
Example relative humidity (RH) planning ranges for common applications. These are starting points, not universal requirements; confirm the limits for your crop, collection, or process before choosing a sensor.
Selection tip: Check that the sensor’s measurement range, accuracy, response time, and temperature rating suit both your target humidity band and the conditions where it will operate.
Compare Sensor Types, Measurement Ranges, and Response Times
Choosing a weather station humidity sensor means comparing more than its headline accuracy.
Tip 1: Check the stated measurement range. Many sensors cover 0–100% relative humidity, but their best accuracy may apply only within a narrower band.
Tip 2: Compare sensor types. Capacitive sensors are common in outdoor stations; resistive designs can behave differently as dust, moisture, or age affect the sensing element.
Tip 3: Read the accuracy specification at the temperatures your station will actually encounter. A small error matters when tracking fog or drying conditions.
Tip 4: Look for response time, often listed as T63 or T90—the time needed to register part of a humidity change. Faster is not always better if readings fluctuate in gusty air.
Tip 5: Check the test conditions behind that figure. Airflow and temperature can change response, so a number measured under laboratory conditions may not match a sheltered garden enclosure. Details matter.
Tip 6: Consider the sensor’s operating and storage limits, especially if the station faces repeated condensation.
Tip 7: Compare calibration needs and replacement options before buying.
I would not rely on range alone; it is easy to overlook response time when comparing tables. If possible, compare the sensor against a trusted reference in a shaded, well-ventilated spot, and note any persistent offset.
Check Accuracy, Resolution, and Calibration Requirements
7 Tips for Choosing a Weather Station Humidity Sensor
Check Accuracy, Resolution, and Calibration Requirements
A humidity sensor’s accuracy tells you how close its reading is to the actual relative humidity. A stated accuracy of ±2% RH is not the same as a display that changes in 1% steps. The first figure describes possible error; the second describes resolution. Small numbers matter. For garden monitoring, a few percentage points may be acceptable, but greenhouse decisions can require tighter control. Check the sensor’s accuracy across the humidity range you expect, not just at one test point.
Resolution can make a display look precise without making its measurements more accurate. A screen showing 54.3% RH may still be off by several points. That gap matters. Look for a published accuracy range and note whether it changes with temperature. Cold mornings and warm afternoons can affect readings, especially when the sensor sits near a sunny window or damp soil. Placement can complicate comparisons, too.
Read the calibration instructions before buying. Some sensors allow a simple adjustment; others require a reference device or professional service. Check how often calibration is recommended, what equipment it needs, and whether the sensor can be recalibrated after extended outdoor use. I still find calibration schedules easy to overlook. Keep a dated log of readings beside a trusted reference, and investigate persistent differences rather than correcting every small fluctuation. Calibration does not fix poor placement or a sensor exposed to condensation.
7 Tips for Choosing a Weather Station Humidity Sensor - Check Accuracy, Resolution, and Calibration Requirements
| Tip | What to Check | Practical Guidance | Why It Matters |
| 1 | Accuracy | Check the stated accuracy across the humidity range you expect to measure. Consumer weather-station sensors commonly specify accuracy in the region of ±2 to ±5% RH; verify the actual specification and conditions. | Accuracy describes how close a reading is to the true relative humidity. A small display increment does not guarantee an accurate measurement. |
| 2 | Resolution | Look for a display or output resolution suited to your use; 0.1% RH is a common fine display increment, while some stations report whole-number %RH values. | Resolution is the smallest change the instrument displays or reports. It affects the detail shown, not the sensor’s accuracy or repeatability. |
| 3 | Calibration options | Confirm whether the station supports user calibration or offset adjustment. For a meaningful check, compare readings with a suitable reference hygrometer or a controlled humidity source. | Calibration can help identify and correct measurement bias. A calibration offset cannot compensate for every source of error or replace a sensor that has degraded. |
| 4 | Calibration interval | Check the manufacturer’s recommended calibration or verification interval and sensor replacement guidance. Set a shorter check interval when measurements are critical or conditions are harsh. | Humidity sensors can drift with age, contamination, and exposure. The appropriate interval depends on the sensor, environment, and required confidence. |
| 5 | Operating range | Check the specified relative-humidity and temperature ranges, including any limits on accuracy near the ends of those ranges. Ensure the sensor is rated for the intended indoor or outdoor conditions. | A sensor may function outside its most accurate range, but readings can become less reliable. Temperature also affects humidity-sensor performance and interpretation. |
| 6 | Response and placement | Review response-time information if available, and place the sensor in a ventilated, shaded location away from direct sunlight, rain, walls, and heat sources. | Slow response or poor placement can make readings lag behind changing air conditions or reflect local heating and moisture rather than representative ambient humidity. |
| 7 | Protection and maintenance | Check the housing and installation instructions for suitable weather protection and airflow. Follow cleaning guidance, and avoid exposing the sensing element to condensation, dust, or chemicals unless it is rated for them. | Contamination, water exposure, and blocked airflow can impair readings or shorten sensor life. Protective covers should not prevent adequate air exchange. |
Verify Weather Station Compatibility and Installation Options
Tip 1: Check the sensor’s electrical interface before ordering. Confirm the station accepts its voltage, connector, and signal type, such as digital output or a resistance-based probe. Also check whether the console can display relative humidity from that sensor. A matching plug does not guarantee compatibility.
Tip 2: Verify mounting options and cable limits. Compare the sensor’s bracket with your mast or radiation shield, and measure the route to the station before installation. Keep the sensor clear of walls, vents, sprinklers, and direct sun. WMO’s Guide to Instruments and Methods of Observation emphasizes proper instrument exposure; poor placement can distort readings even when the sensor is sound. A small detail, easily missed.
Tip 3: Check the station manual for supported firmware, pairing steps, and calibration procedures. NOAA’s 1991–2020 U.S. Climate Normals use 30-year records, so reliable comparisons depend on consistent observations and clear station metadata. Record the sensor’s height and location when you install it. Compatibility tables can be vague; if a connection or mounting detail is unclear, confirm it with the station documentation before buying. A little caution saves a second trip up the ladder.
Assess Durability, Maintenance, and Data-Logging Features
When choosing a humidity sensor for a weather station, check how it handles damp mornings, direct sun, and sudden temperature changes. A sealed housing and weather-resistant connectors can reduce failures after weeks outdoors. Still, no enclosure makes a sensor immune to poor placement. Keep it shaded and allow airflow around the sensing element.
Maintenance should be practical, not just promised. Look for a design that lets you inspect or replace the sensor without dismantling the whole station. Dust, pollen, and spider webs can affect readings, so plan occasional checks, especially after storms or during heavy pollen seasons. Follow the maker’s calibration guidance, and compare readings with a trusted reference when results seem implausible. I once assumed a drifting reading meant a faulty sensor; a blocked air opening was the simpler explanation.
Check how the station logs and exports data before buying. Useful records include timestamps, humidity values, and gaps caused by power or signal loss. A clear history can reveal whether humidity rises before dawn or stays unusually high after rain. Make sure the memory holds enough readings for your review schedule, and confirm that data can be downloaded in a usable format. Fancy graphs are nice. Recoverable data matters more. One trade-off is easy to miss: frequent logging gives finer detail but can fill storage faster.